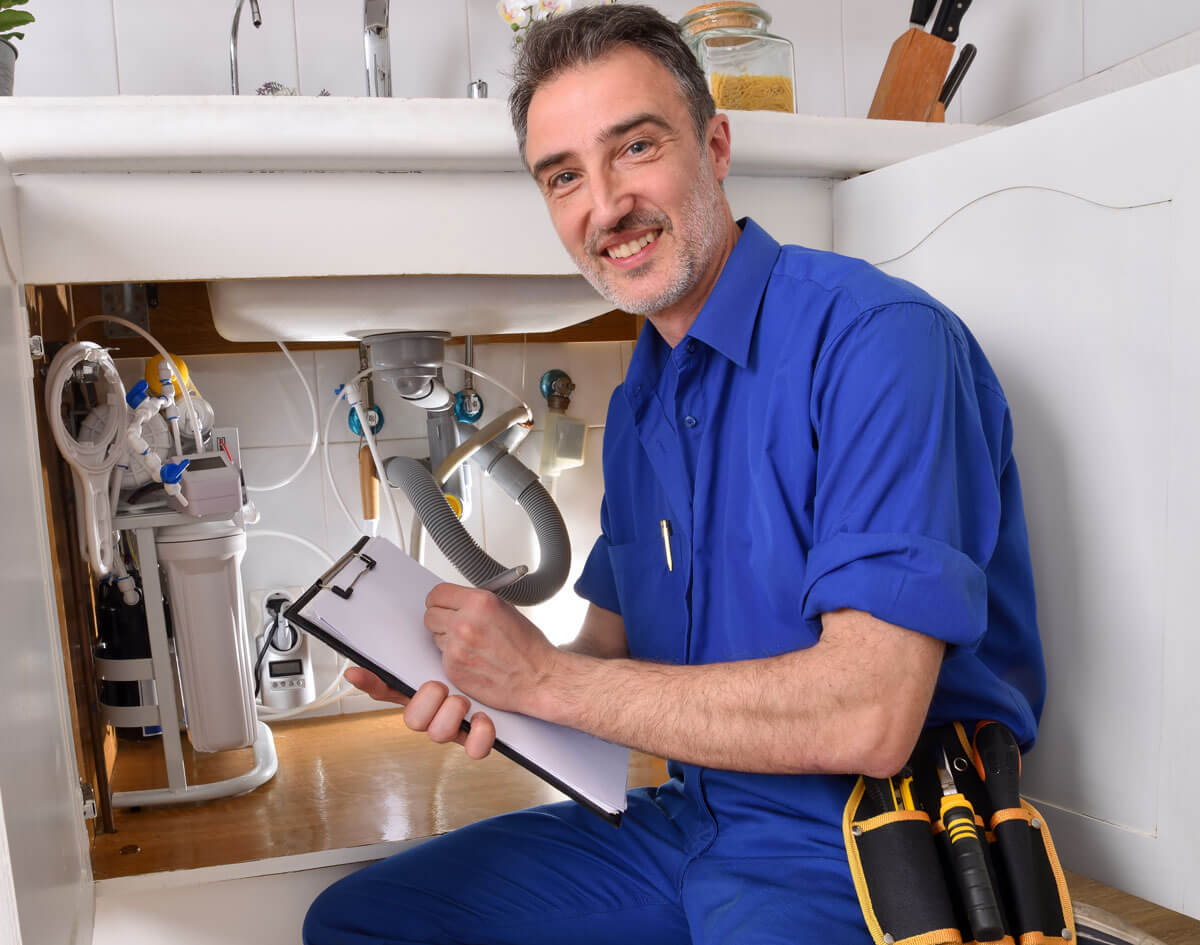
Rough plumbing refers to the phase in construction where the plumbing system is laid out but not yet connected to the fixtures. This stage includes installing water supply lines, drain pipes, vent pipes, and other necessary components within the walls, floors, and ceilings before the final finishes are applied. Here’s an in-depth look at the rough plumbing process, as used by On the Spot Plumbing and Heating:
1. Planning and Design
Blueprints: Begin with detailed blueprints that indicate the location of all plumbing fixtures, including sinks, toilets, showers, and appliances.
Codes and Regulations: Ensure that the design complies with local building codes and regulations, covering pipe sizes, materials, and proper venting.
2. Installation of Water Supply Lines
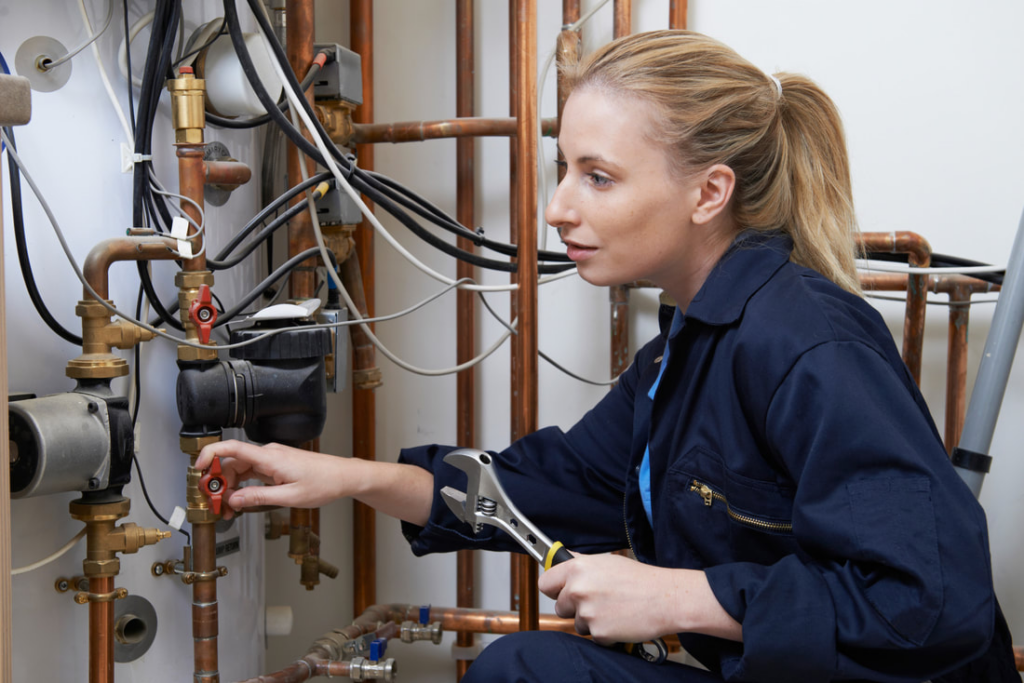
Material Selection: Choose appropriate materials for water supply lines, such as PEX, copper, or CPVC.
Main Water Line: Connect the main water supply line from the municipal source or well to the house.
Branch Lines: Install branch lines running from the main line to each fixture, including both hot and cold water lines.
3. Drain-Waste-Vent (DWV) System
Drain Lines: Install drain lines to carry wastewater from fixtures to the main sewer or septic system, using materials like PVC or ABS.
Vent Pipes: Install vent pipes to allow sewer gases to escape and ensure proper drainage, preventing vacuum formation that can impede water flow.
Traps: Ensure each fixture has a P-trap to prevent sewer gases from entering the home.
4. Installation of Fixtures and Appliances
Fixture Placement: Rough in the locations for all fixtures, such as sinks, toilets, showers, and bathtubs.
Stub Outs: Install stub outs (short lengths of pipe) for each fixture to connect to later.
5. Inspection and Testing
Pressure Testing: Conduct pressure tests on the water supply lines to check for leaks.
Water Flow: Test the water flow to ensure there is adequate pressure and volume.
Drainage: Test the drainage system for proper flow and to ensure there are no blockages or leaks.
6. Final Steps
Seal and Secure: Ensure all pipes are securely fastened and sealed to prevent movement and leaks.
Documentation: Keep detailed records of the plumbing layout and components for future reference and inspections.
Tools and Materials Needed
- Pipes and Fittings: PVC, ABS, copper, or PEX pipes, elbows, tees, couplings, and connectors.
- Tools: Pipe cutters, wrenches, soldering kit (for copper), pipe glue or crimping tools (for PEX), and a level.
- Safety Equipment: Gloves, safety glasses, and protective clothing.
Common Challenges
Space Constraints: Ensuring there is enough space for pipes within walls and floors.
Code Compliance: Staying up-to-date with local plumbing codes and standards.
Coordination: Coordinating with other trades, such as electrical and HVAC, to avoid conflicts in the layout.
Final Inspection
Building Inspector: Schedule a rough plumbing inspection with the local building inspector to ensure everything meets code requirements before moving on to the next phase of construction.
Rough plumbing is a critical step in the construction process, laying the groundwork for the entire plumbing system. Proper planning, installation, and inspection are essential to ensure a functional and reliable plumbing system in the finished structure.
For more information or assistance with your plumbing needs, visit On the Spot Plumbing and Heating.